
At Codrops, we love sharing creative journeys from the web development community. In this article, Axel Croizé takes us through the key steps of building his first browser-based 3D game prototype. Inspired by Bruno Simon’s playful portfolio, Axel brings his idea to life using Three.js, shaders, and physics engines. While the project is still in progress, his story offers a fascinating glimpse into how curiosity and creativity can spark interactive web experiences.
In this article, I’ll walk you through the process of developing my first 3D game prototype—from the initial concept to setting up the environment and adding interactive elements. I’ll share some of the tools and techniques I used, the challenges I faced, and how the project is shaping up. Though it’s still a work in progress, I hope this breakdown will be helpful if you’re thinking about starting a similar project but aren’t sure where to begin.
How the idea came to life
Like most web developers who discover Bruno Simon’s portfolio for the first time, I was deeply impressed by his playful and creative approach while staying true to the principles of web design.
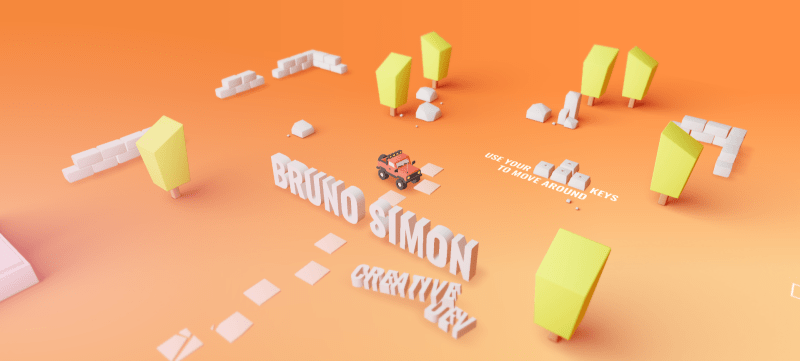
“Browsing” and “visiting” a website take on a whole new meaning in his richly immersive 3D environment, where you must physically navigate to explore his projects.
Being a novice in using 3D on the web, I quickly decided to enroll in his Three.js Journey course.
Since I didn’t yet have a portfolio, I thought it would be amazing to create an environment where users would enjoy exploring and discovering my projects. As someone who loves nature and animals and was inspired by games like Journey or Zelda, the idea of embodying an animal exploring a vast environment came to me quickly.
While I ultimately took a different approach for my portfolio, the concept for my first game prototype was born.
Design and Development Stages
By the end of the course, I had already completed several small creative projects using shaders. I had discovered the power of physics engines like Cannon.js or Rapier, the ease of using Three.js with React via React-Three-Fiber (R3F), and the invaluable helpers from Drei, part of the pmndrs collective.
I was well-equipped to tackle this project, which had been simmering in my mind for some time.
Set up
I created a new React project, installed the R3F and Drei libraries, and added the Rapier physics engine via pmndrs/react-three-rapier (yes, another one thans to pmndrs).
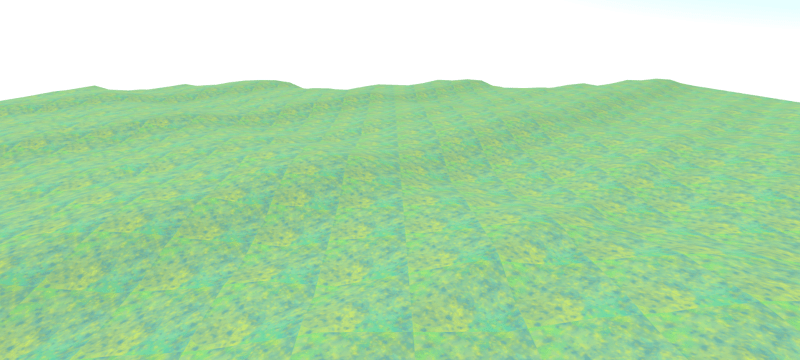
I then generated a terrain by creating a height map array using a noise algorithm to achieve a natural-looking hill relief.
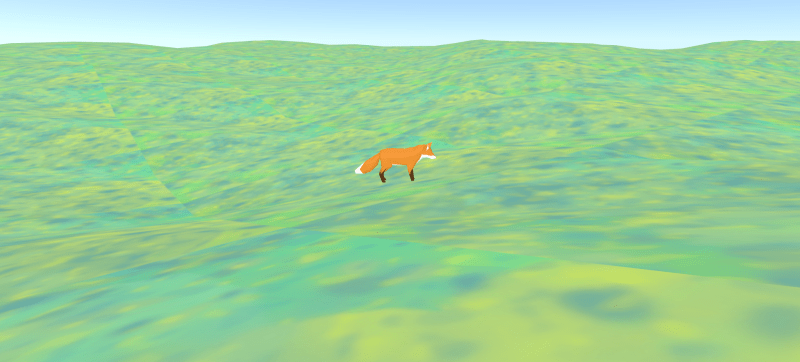
For the character, among the free animated 3D models available online for testing, I found a “low poly” fox that fitted perfectly with my project.
Finally, I added a Sky component, a very handy helper provided by the Drei library.
Physics
Next, I needed to define the context of “physical bodies” so that the fox could move on the terrain. The fox was defined as a mobile physical body subject to gravity, while the ground was a static physical body.
<Physics
  debug
  gravity={[0, -9.81, 0]}
>
  <Terrain foxPosition={foxPosition} />
  <Fox
    position={[0, 2.5, 0]}
    orbitControlsRef={orbitControlsRef}
    onPositionUpdate={updateFoxPosition}
  />
</Physics>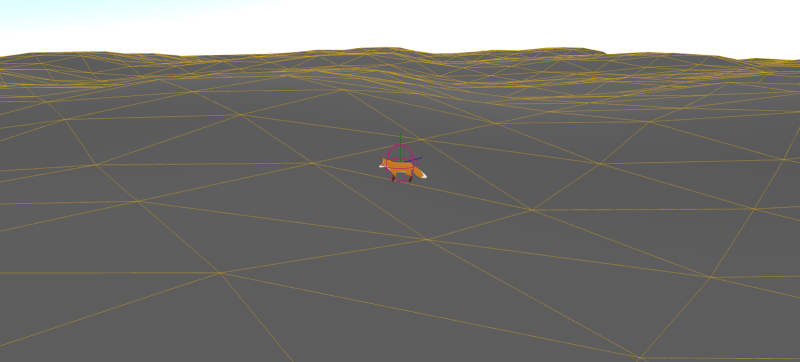
Then, I programmed directional controls for the keyboard to move the fox on the terrain. I applied a driving force based on the fox’s orientation, ensuring it moved coherently with its direction relative to the camera.
Camera
By default, a Three.js camera added to the scene is static. Controls allow users to move it to view different angles of the scene.
For my game, I wanted the controls to mimic an adventure game: one joystick (or the arrow keys) for moving the character and another joystick for rotating the camera around the character.
const translation = foxBody.current.translation();

const targetPosition = new THREE.Vector3(
  translation.x,
  translation.y,
  translation.z
);

orbitControlsRef.current.target.lerp(targetPosition, 0.05);

// ...

<OrbitControls
  ref={orbitControlsRef}
  minDistance={1}
  maxDistance={4}
  maxPolarAngle={Math.PI / 2.5}
  minPolarAngle={Math.PI / 2.5}
  enablePan={false}
  enableZoom={true}
  enableDamping={true}
  dampingFactor={0.05}
  zoomSpeed={0.5}
  rotateSpeed={0.5}
  keyEvents={false}
/>
Grass
At this stage, I had a fox moving across varied terrain, but it was far from a satisfying adventure experience.
To create lush hills, I needed to add grass to my terrain. Fortunately, I found a project that perfectly demonstrated the effect I wanted.
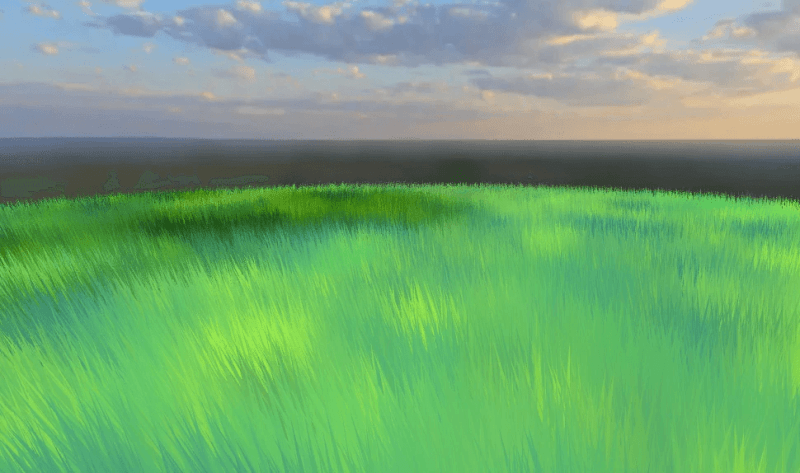
James provided the code for his project in vanilla Three.js. I isolated the grass and its oscillation logic and adapted it for React-Three-Fiber. I then applied the grass across the terrain.
To keep the code organized, I separated the terrain’s heightmap calculation from the grass creation, which consists of numerous individual blades. To ensure proper placement, I injected the same heightmap data into the grass logic.
<RigidBody type="fixed" colliders={false} friction={1}>
  <mesh receiveShadow ref={meshRef} material={material}>
    <primitive object={terrainData.geometry} />
  </mesh>

  <HeightfieldCollider
    args={[40, 40, terrainData.heights, terrainData.scale]}
    restitution={0.2}
  />

  <GrassField terrainData={terrainData} foxPosition={foxPosition} />
</RigidBody>
James’ project included a passing cloud effect on the grass, which looked great but only affected the grass and not the fox, detracting from realism. I removed it, keeping in mind that if I wanted cloud shadows, I’d need a global system with sky clouds affecting both the fox and the grass.
Another detail is that the grass has its own color, but depending on its density, the ground underneath might show through, creating an unpleasant contrast. To fix this, I used the same texture for the grass color on the terrain. By slightly darkening the grass blade edges, the grass remained visible while blending seamlessly with the ground.


Upcoming Features
Now that the exploration prototype is complete, these are the major features that will go next to make it an actual game:
- Adding a lore: Why is the fox there? Why are the hills so vast? Is there something more?
- Exploration rewards: Placing collectible items at various points in the game linked to the lore, encouraging players to explore and learn about the universe.
- Loading screen
There are also several improvements I’ve already considered:
- Adding points of interest related to the lore (a windmill, a giant tree, a uniquely shaped rock, etc.)
- Adding a navigation tool, such as a mini-map or a compass
- Lighting enhancement
- Implementing a day/night cycle
- Creating or purchasing a more personalized fox asset
- Adding relaxing background music and wind sound effects
- Deciding on the game’s conclusion
Conclusion
This ambitious project will require a lot of work, and I’m happy to take my time with it.
You can try out the WIP version here. Control the fox with the WASD keys.
If you enjoyed reading this, have other improvement ideas, or just want to share your thoughts, feel free to comment or reach out via my social media.
You can also check out my portfolio site, where I’m open to feedback and suggestions.
Thank you for reading, and happy coding!