
Do you ever feel like Spotify doesn’t understand your mood or keeps playing the same old songs? What if I told you that you could talk to your Spotify, ask it to play songs based on your mood, and even create a queue of songs that truly resonate with you?
In this tutorial, we will integrate a Spotify MCP server with the Claude Desktop application. This step-by-step guide will teach you how to install the application, set up the Spotify API, clone Spotify MCP server, and seamlessly integrate it into Claude Desktop for a personalized and dynamic music experience.
1. Installing Claude Desktop
Go to the claude.ai website, download the installer package, and install the Claude Desktop with default settings.
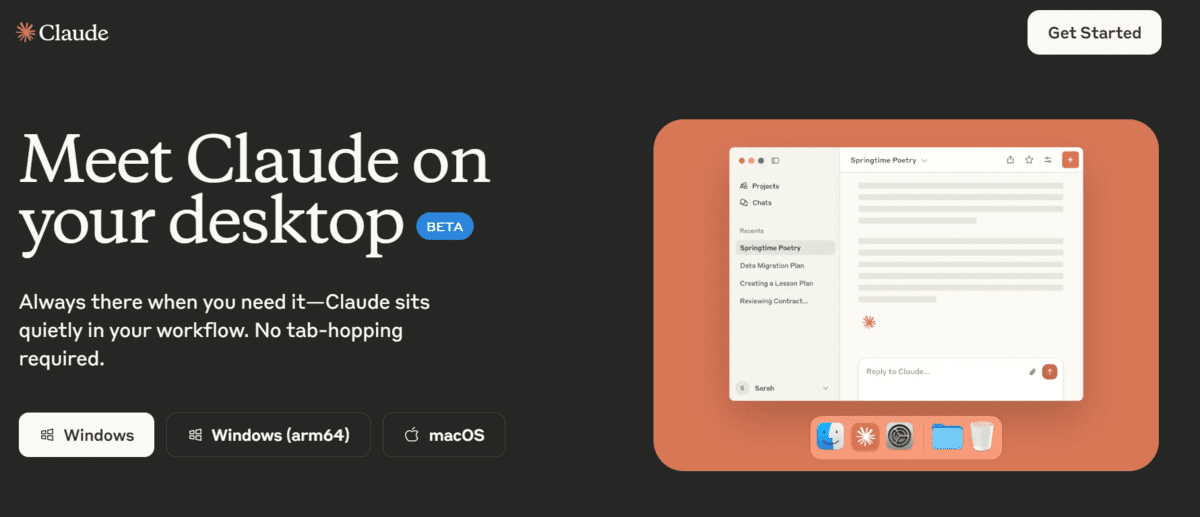
Screenshot from Download Claude
2. Setting Up Spotify API
Login to https://developer.spotify.com/ with your Spotify account credentials.
 Screenshot from Spotify for Developers
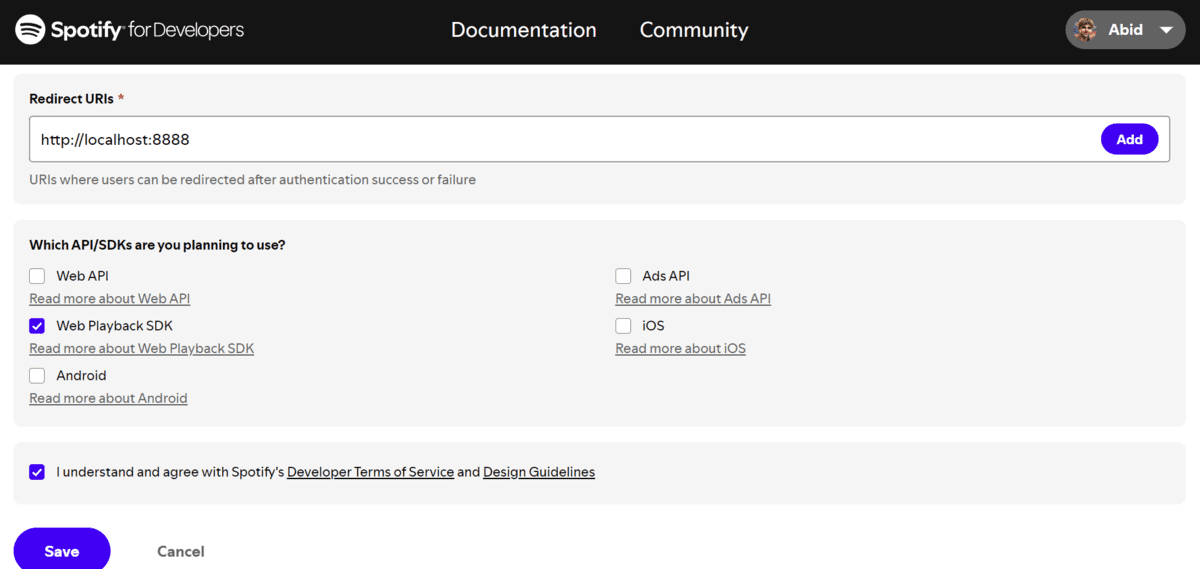
Visit the Dashboard at https://developer.spotify.com/dashboard and accept the terms. Create an app with the redirect_uri set to http://localhost:8888. I have configured “APIs used” to “Web Playback SDK,” as shown below.
 Screenshot from Spotify for Developers
3. Setting up Spotify MCP Server
Open your terminal and run the following command to clone the spotify-mcp repository:
$ git clone https://github.com/varunneal/spotify-mcp.git
This MCP server offers several functionalities, including:
- Start, pause, and skip playback
- Search for tracks, albums, artists, and playlists
- Retrieve information about tracks, albums, artists, and playlists
- Manage the Spotify queue
To open the Claude Desktop configuration file in Visual Studio Code, use the following command:
code $env:AppData\Claude\claude_desktop_config.json
The configuration file requires your Client ID and Client Secret, which you can obtain from the app you created in the Spotify Developer Dashboard.
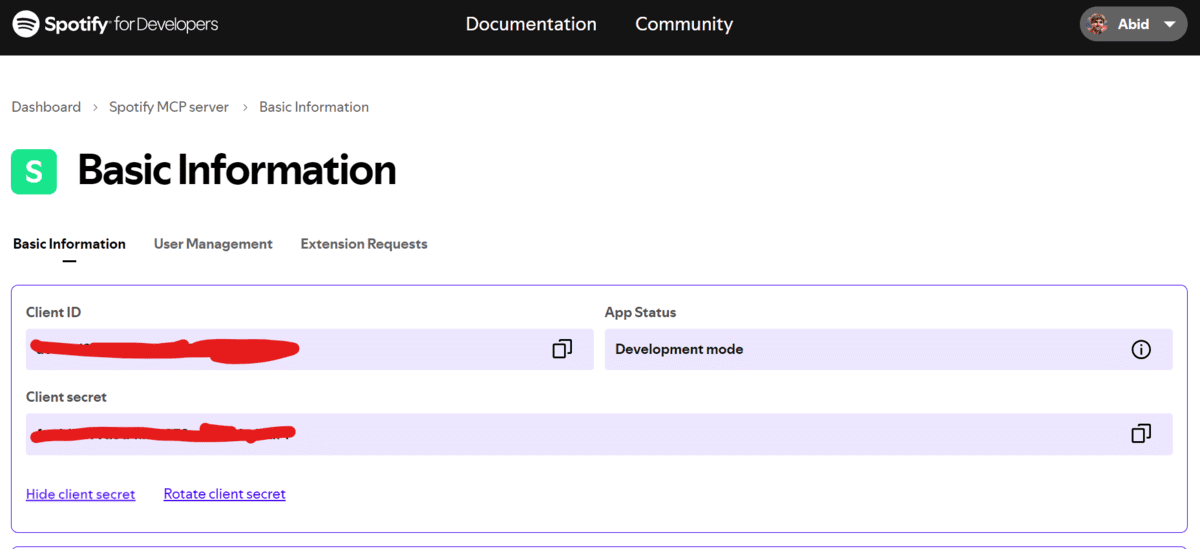
Screenshot from Spotify for Developers
Additionally, you will need to specify the location of the app and the Redirect URL. Below is a sample configuration that you can copy and paste into the configuration file. Make sure to replace the placeholders with your actual Client ID, Client Secret, and Redirect URL:
{
  "mcpServers": {
    "spotify": {
      "command": "uv",
      "args": [
        "--directory",
        "C:/Repository/GitHub/spotify-mcp",
        "run",
        "spotify-mcp"
      ],
      "env": {
        "SPOTIFY_CLIENT_ID": "SPOTIFY_CLIENT_ID",
        "SPOTIFY_CLIENT_SECRET": "SPOTIFY_CLIENT_SECRET",
        "SPOTIFY_REDIRECT_URI": "http://localhost:8888"
      }
    }
  }
}
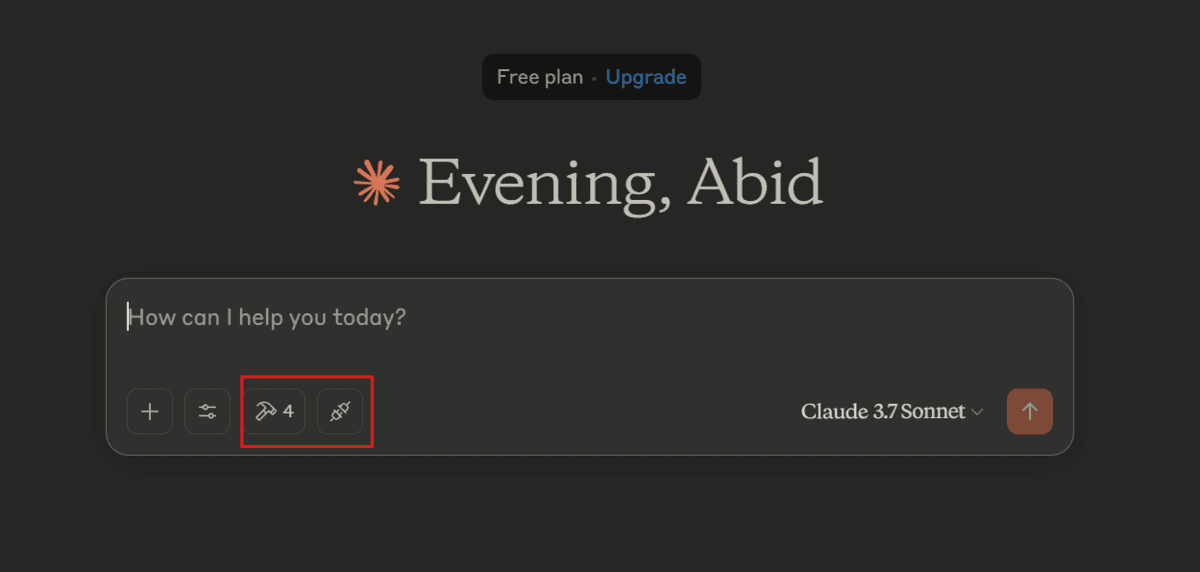
After saving your changes, restart the Claude Desktop application by completely closing it and starting it again. You should see new icons appear in the chat options, indicating that you have successfully set up the tools.
4. Using the MCP Server with Claude Desktop
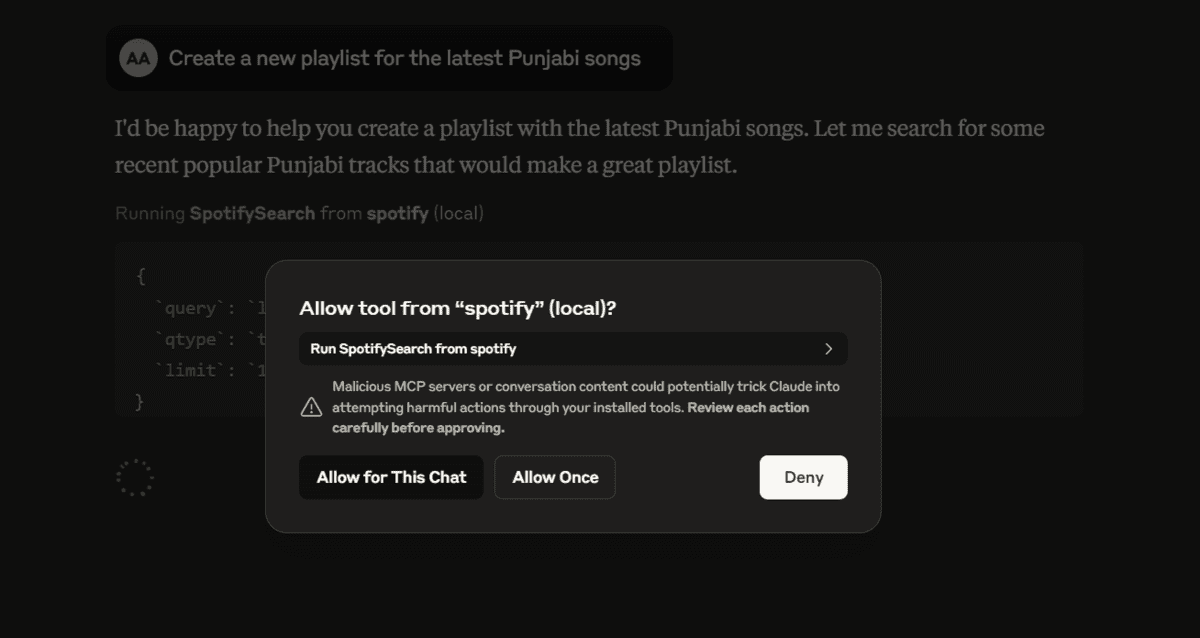
I have requested the creation of a new playlist featuring the latest Punjabi songs. Claude understood the task and asked permission to access the Spotify search tools. To proceed, please click the “Allow for This Chat” button to grant the necessary permissions.
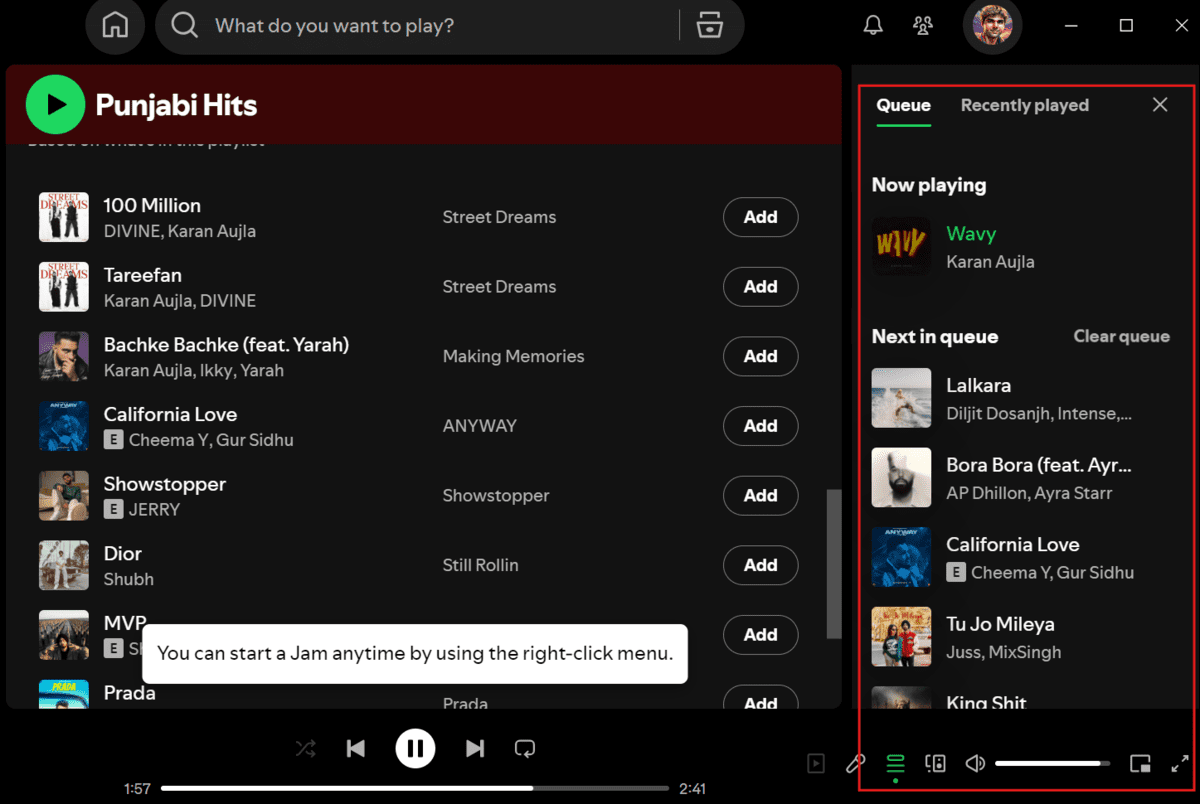
It has successfully built a playlist for me and it is currently playing the song too.

Here is my Spotify desktop application, which is in sync with AI response.
Final Thoughts
I have been using this MCP server to play sad songs when feeling down or to create a playlist for work while coding a project. It feels like the Spotify application finally understands my feelings. This is just the beginning; you can integrate as many MCP servers as you want using the guide above.
Please check out this webpage, Awesome MCP Servers, to access all kinds of MCP servers for free.
Abid Ali Awan (@1abidaliawan) is a certified data scientist professional who loves building machine learning models. Currently, he is focusing on content creation and writing technical blogs on machine learning and data science technologies. Abid holds a Master’s degree in technology management and a bachelor’s degree in telecommunication engineering. His vision is to build an AI product using a graph neural network for students struggling with mental illness.