I recently recreated the Mac Mini animation using Rive, a no-code animation tool that’s becoming increasingly popular among web and product designers (and developers).
To make this easier to follow, grab my remix link and follow along. Here’s the animation we’ll be recreating:
Rive User Interface
Welcome to the Rive interface. Here’s a quick rundown:
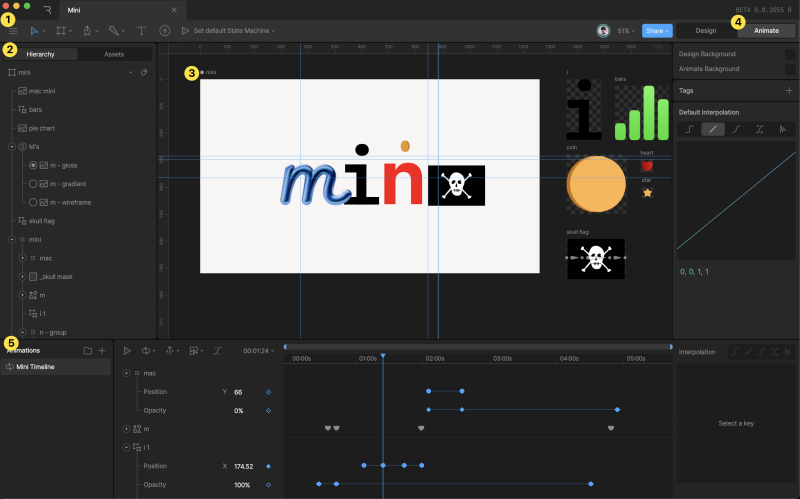
- Toolbar
- Hierarchy (or Layers) List
- Artboards
- Toggle to switch between Design or Animate Mode*
- Animations shelf — only shown when you’re in Animate Mode*
*When designing or laying things out, stay in Design mode. When you’re ready to animate, switch to Animate mode (shortcut: tab key).
Nested Artboards
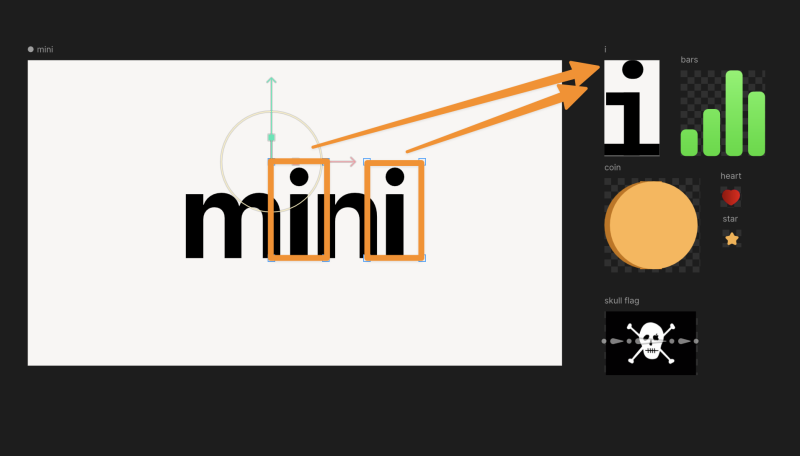
Since this is a complex animation, I’ll be using nested artboards. It’s similar to components in Figma — you work within a separate artboard and then bring it into the main timeline.
Two big advantages of doing this:
- Keeps your main timeline clean (believe me, it will get messy).
- Lets you reuse animations, which we’ll see soon.
Create Animation Timelines → Configure the “i”
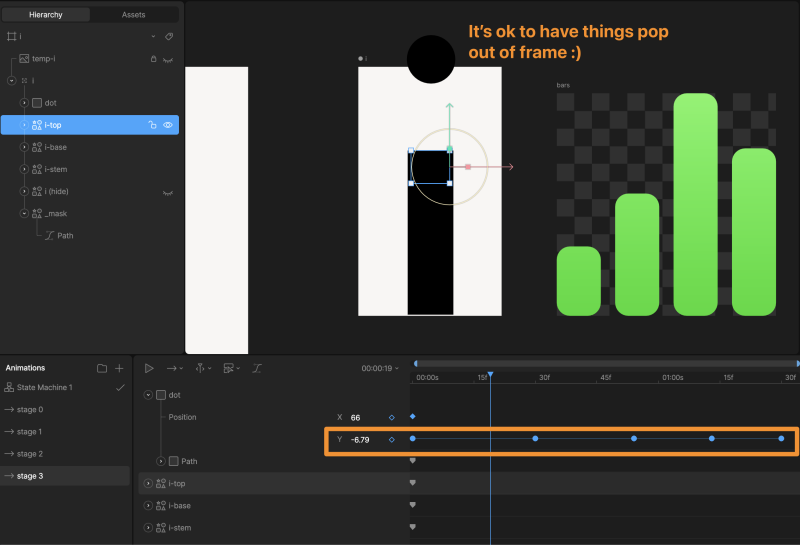
The letter “i” has four stages. For each stage, I’ve tweaked the properties on the first frame — we’ll see them animated once we wire them up in the State Machine.
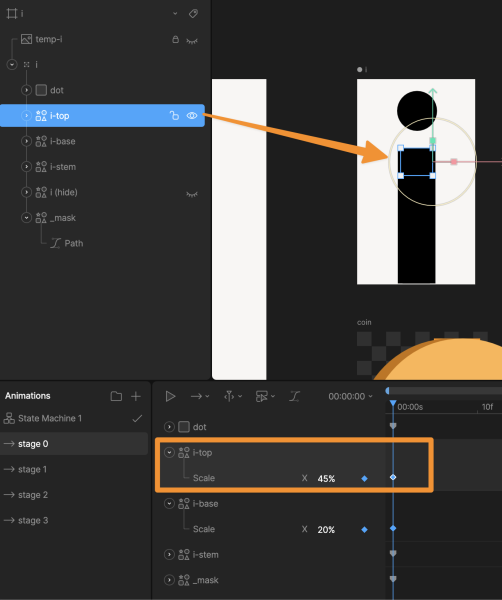
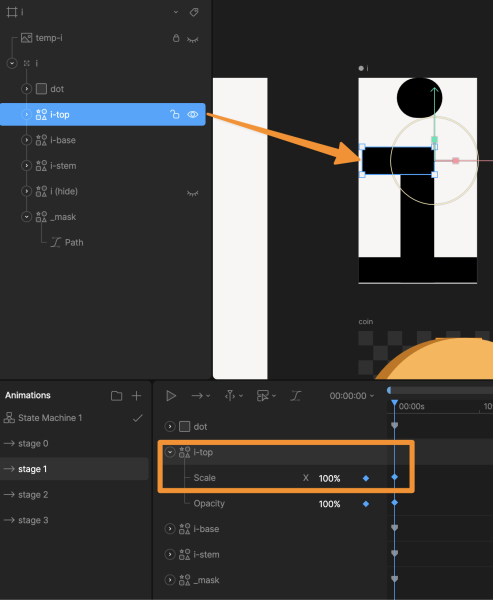
The only exception is Stage 3, where the dot on the “i” bounces a bit.
Using State Machines & Inputs → Animate the “i”
Now, here’s a secret: the state machine is what makes Rive so powerful.
A state machine binds multiple animations and defines the logic for transitioning between them. In my example:
- An Any State block connects to the other animations, allowing me to jump between stages at any point, not just in sequence.
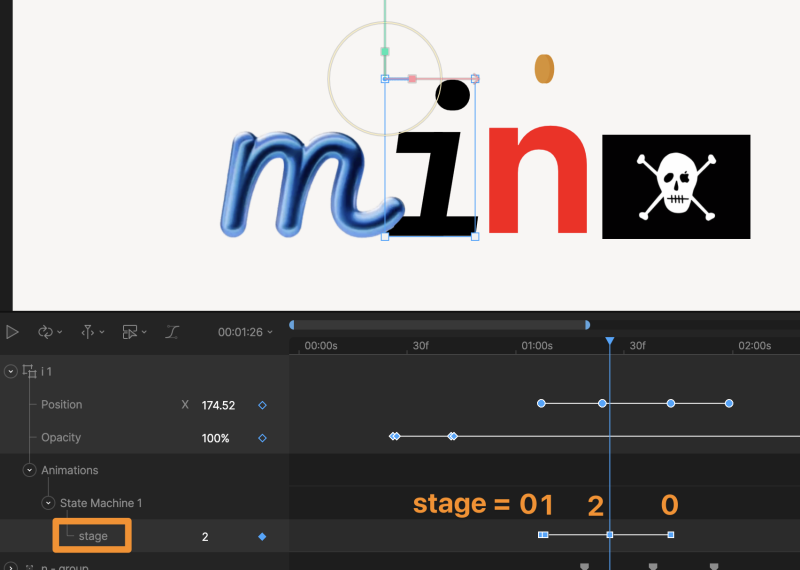
- An Input takes in a stage variable (from 0-3).
- Conditions map the stage variable to its corresponding animation.

Once the variable stage is created, we can hook up a condition to these connector arrows. In the screenshot above, for example, if stage == 0, the animation “Stage 0” will run.

Before returning to the main artboard, ensure the stage variable is “exposed to the parent artboard,” allowing you to modify stage in the main timeline.
Faux 3D → Coins, Hearts, and Star
One great feature of Rive is the ability to create faux 3D effects. This is fairly simple: add a thick stroke and ensure “Apply transform” is turned off.
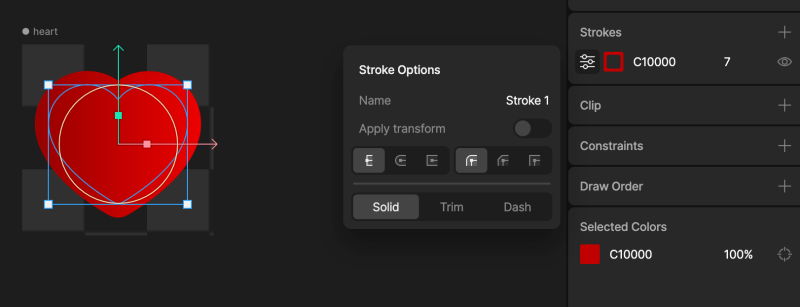
Then, tweak the X scale from 100% to 0% (then to -100%), and it’ll appear to spin in 3D!
We apply this same concept to the coin and the star — when added to the main timeline, it creates a magical effect ✨
Putting It All Together
With all the smaller animations ready, we can add them to the Main artboard.
Think strategically about how you want to group layers (elements that animate together should be grouped).
Additionally, solo mode allows you to easily show one layer and hide the others:
I know this is a deep dive, especially if this is your first time using Rive. The best way to learn is to grab the remix file, break it apart, and explore it yourself!
Bonus: for the pirate flag, it’s similar to what’s described in this tutorial (starting at the 8:30 mark).
