
Image by Author | Canva Pro
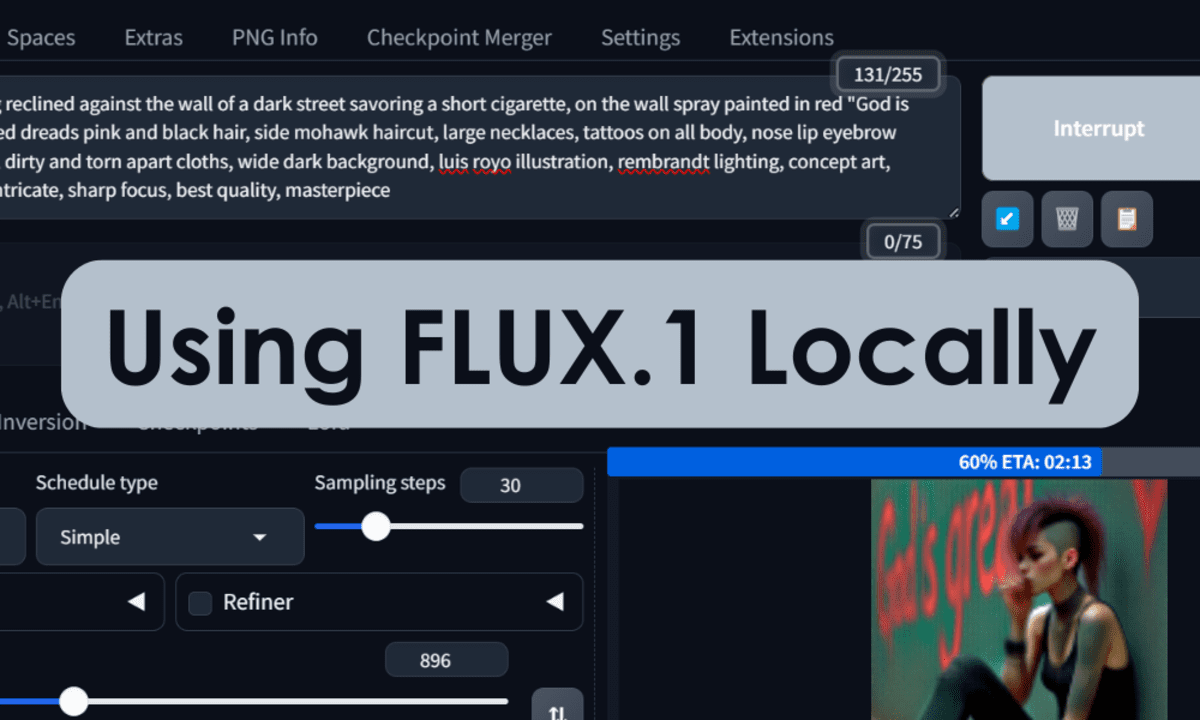
In this tutorial, we will learn how to easily install the Stable Diffusion WebUI Forge and then download the quantized version of FLUX.1 [dev] and use it to generate high-quality images. It provides a step-by-step guide that will allow you to use your laptop to generate and modify generated images and art.
Our Top 3 Course Recommendations
![]()
![]() 1. Google Cybersecurity Certificate – Get on the fast track to a career in cybersecurity.
1. Google Cybersecurity Certificate – Get on the fast track to a career in cybersecurity.
![]()
![]() 2. Google Data Analytics Professional Certificate – Up your data analytics game
2. Google Data Analytics Professional Certificate – Up your data analytics game
![]()
![]() 3. Google IT Support Professional Certificate – Support your organization in IT
3. Google IT Support Professional Certificate – Support your organization in IT
What is FLUX.1?
The FLUX.1 is a new family of image generation models created by BlackForestLabs. It is setting a new standard for the AI industry by delivering high image detail, strict adherence to prompts, diverse styles, and complex scene rendering. This model establishes itself as the state-of-the-art solution for transforming text into vivid imagery.
The FLUX.1 comes in three variants: FLUX.1 [pro], FLUX.1 [dev], and FLUX.1 [schnell]. It surpasses leading models like Midjourney v6.0 and DALL·E 3 (HD), setting a new standard in image generation and paving the way for future innovations in generative media.
Installing Stable Diffusion WebUI Forge
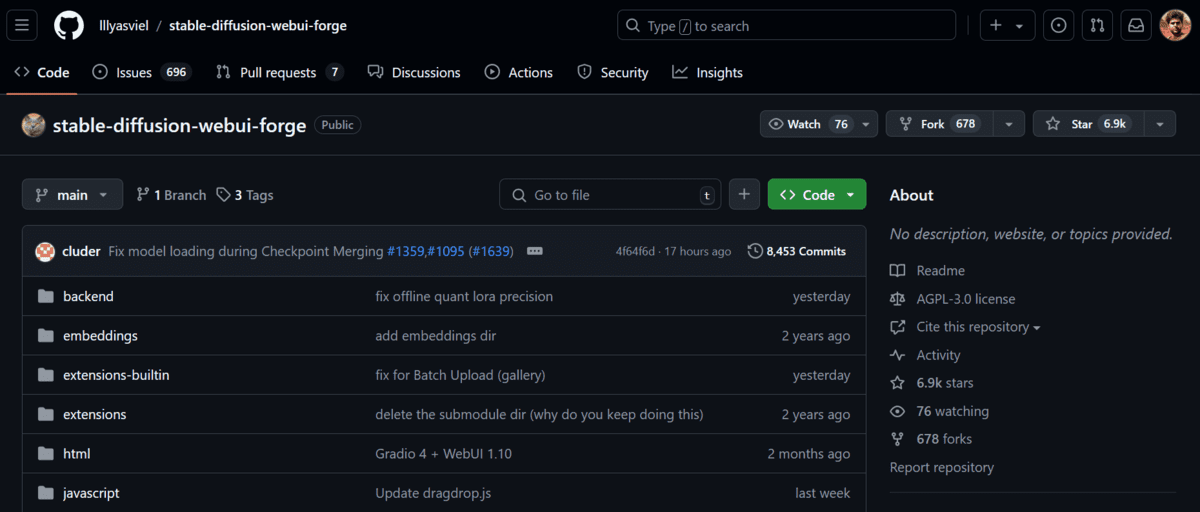
Developers can easily install Stable Diffusion WebUI Forge using the GitHub repository (lllyasviel/stable-diffusion-webui-forge).
For non-technical users, installing Stable Diffusion WebUI Forge using technical guides can be tricky. That’s why Stability Matrix offers a user-friendly alternative, allowing anyone to easily experience state-of-the-art models on their laptops without the hassle of complex installation processes.
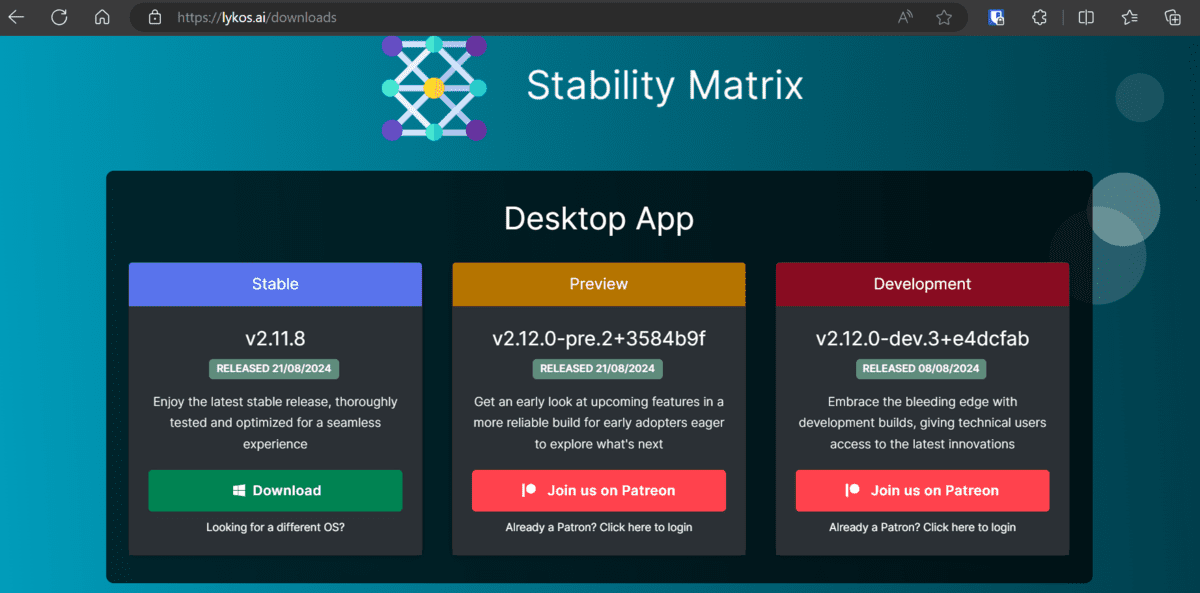
1. Go to the Lykos AI website and download the stable version of the Desktop app.
2. Unzip the downloaded file and double-click on the `StabilityMatrix.exe` file to launch the installer.
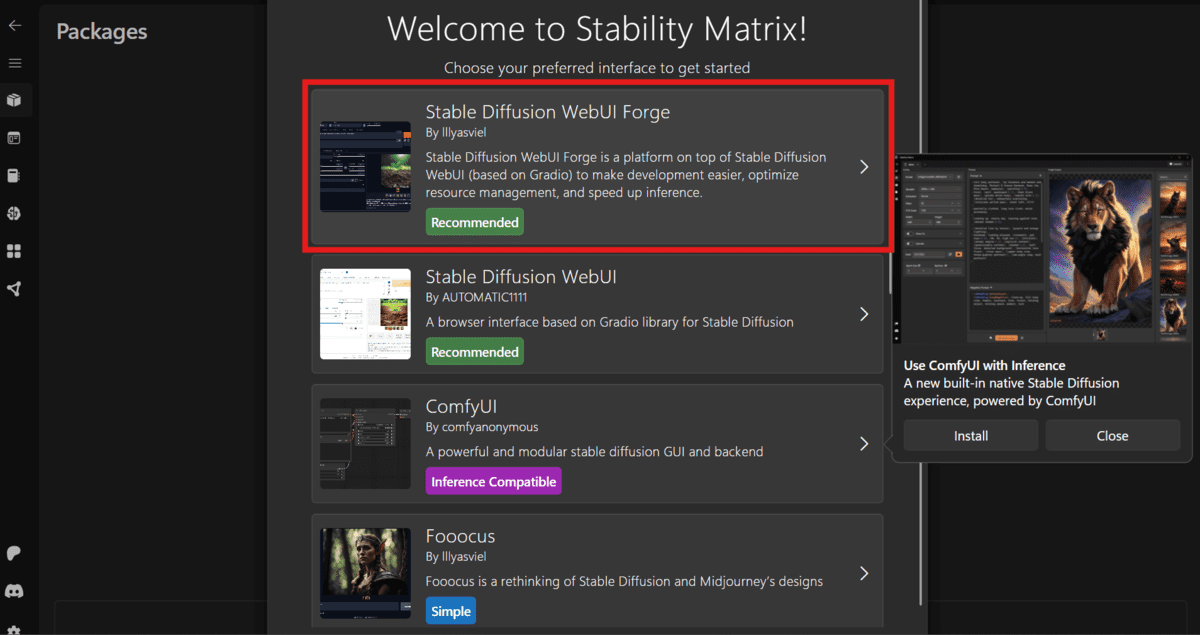
3. After installation is completed, we will be redirected to the Stability Matrix application, where we will be asked to choose our preferred interface. Please select the “Stable Diffusion WebUI Forge.”
4. It will ask you to download the base mode; please skip installing the recommended models. It will take 15 minutes for everything to finish.
Setting Up the FLUX.1 [dev] Model
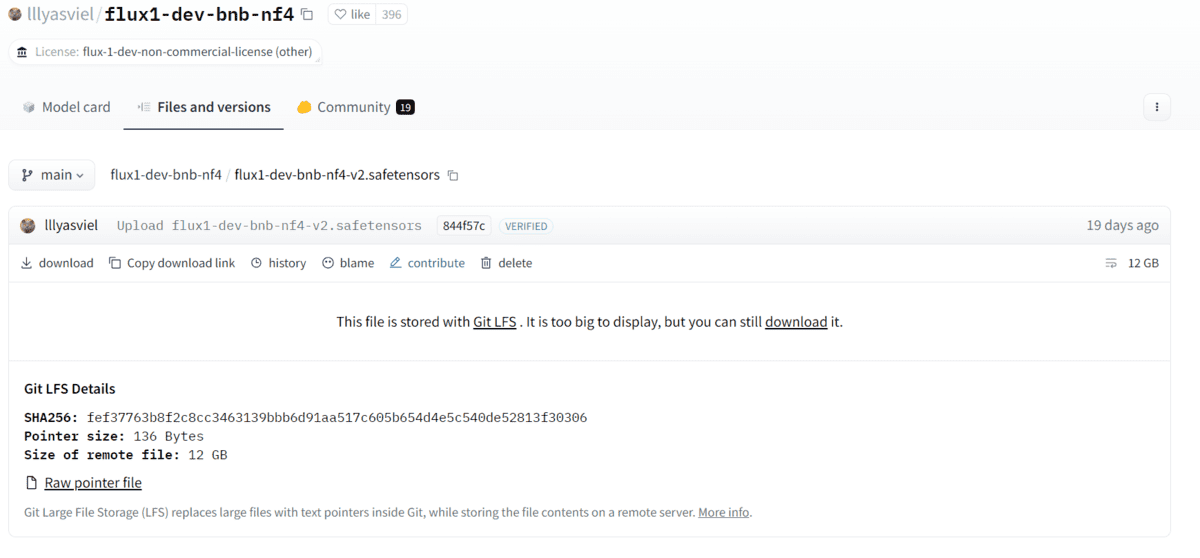
5. After installing the Stable Diffusion WebUI Forge is completed, go to the flux1-dev-bnb-nf4-v2.safetensors Hugging Face Model repository and download the quantized version of the FLUX.1-dev model. Why the quantized version so that it can be run on the GPU with the smaller VRAM? Even then, you need a GPU with 8GB of VRAM.
6. Navigate to the StabilityMatrix folder and follow this path: C:\Users\<USER_NAME>\StabilityMatrix\Packages\stable-diffusion-webui-forge\models\Stable-diffusion
7. Create a new folder named “flux” and move the downloaded FLUX.1 [dev] model file into it as shown below.

8. Go to the Stability Matrix app and navigate the Packages menus to launch the Stable Diffusion WebUI Forge.

9. After a few seconds, you will be directed to the new window with the Gradio web application or you can simply click on the local URL.
10. In the web application, select the Flux UI and change the checkpoint to the model file.

That’s it. All you have to do is type the detailed prompt and press the generate button.
Using FLUX.1 [dev] Model
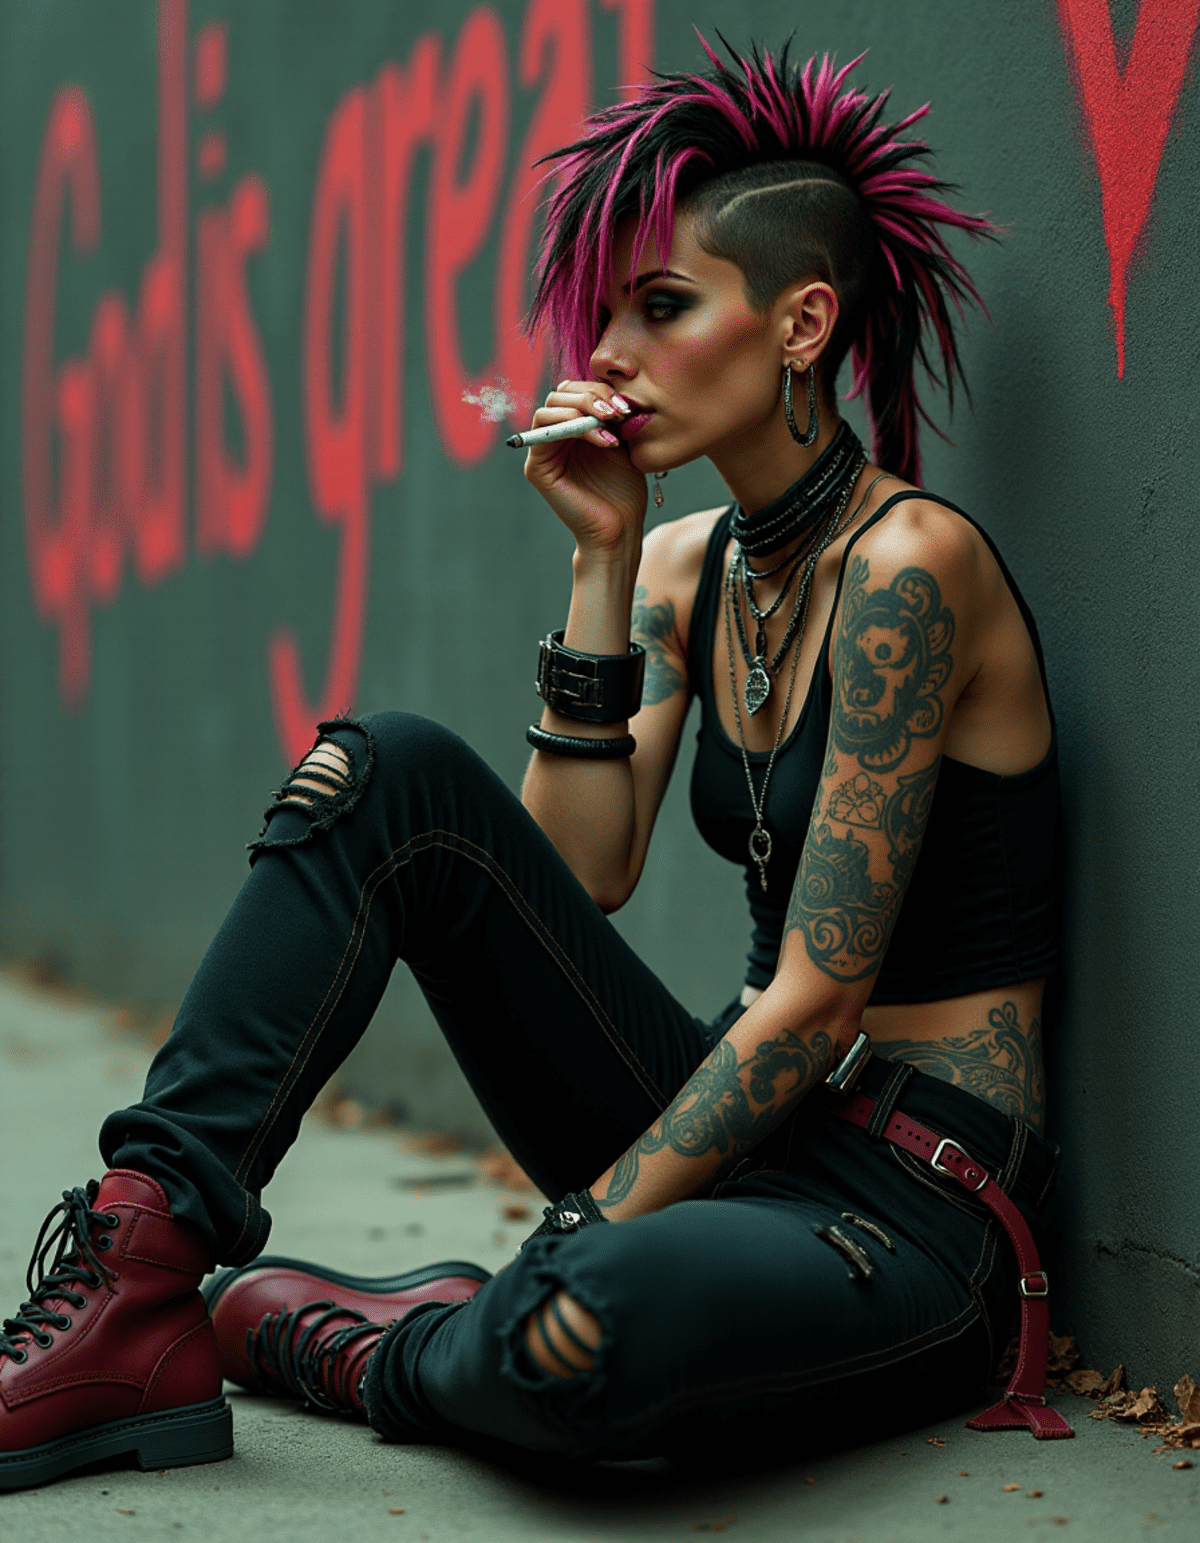
11. Select the “Text2img” tab and write the detailed prompt in the prompt box. Make sure to add all the details as shown below.
Prompt: “a slender punk female sitting reclined against the wall of a dark street savoring a short cigarette, on the wall spray painted in red “God is Great”, hyper realistic, detailed dreads pink and black hair, side mohawk haircut, large necklaces, tattoos on all body, nose lip eyebrow piercing, worn crop tank top, dirty and torn apart cloths, wide dark background, luis royo illustration, rembrandt lighting, concept art, fantasy art, hyper detailed, intricate, sharp focus, best quality, masterpiece”.
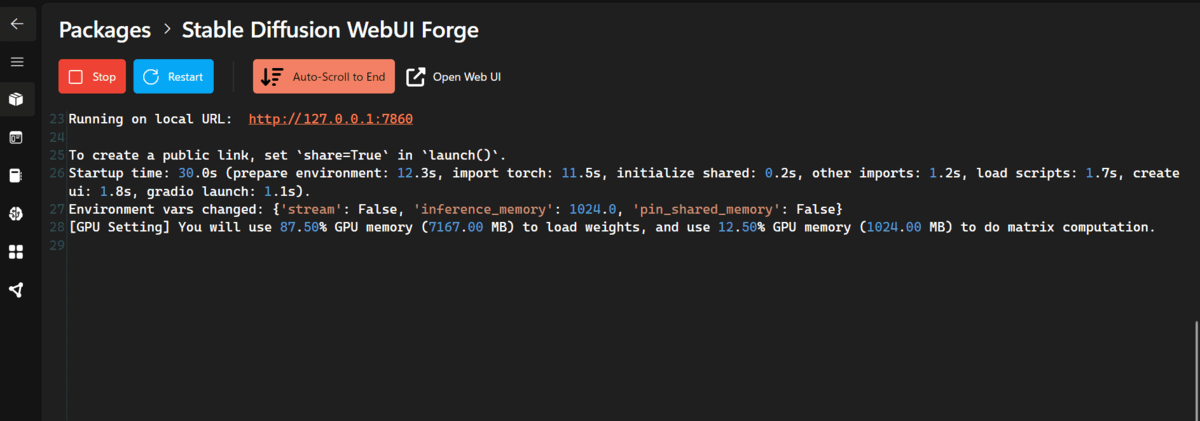
It will take a few minutes to generate as it is a large model that requires a lot of VRAM. If your system is slowing down or freezing for a few seconds, I highly recommend reducing the GPU Weights.
We can even view the details log on the StableMatrix app.

In the end, we get high-quality images that follow the prompts for the word. Even the text is created without any glitch.
12. Let’s try another prompt with different settings.
Prompt: “A middle-aged male woodworker in his sunlit workshop. He has weathered hands and a focused expression as he carefully carves intricate details into a piece of rich mahogany. His salt-and-pepper beard is neatly trimmed, and he’s wearing a well-worn leather apron over a flannel shirt. Dust motes dance in the warm afternoon light streaming through the windows, creating a cozy atmosphere.”
Again, the result is hyper-realistic, with no visual glitches and better lighting compared to the Stable Diffusion XL model.

Conclusion
Using generative AI models locally offers you complete privacy and the freedom to create unlimited images at no cost, without any restrictions on prompt creativity.
In this tutorial, we’ve covered the easiest way to install and use Stable Diffusion Forge to generate hyper-realistic images with the FLUX.1 [dev] model. If you’re interested in learning more about generative AI, feel free to follow me on LinkedIn.
Abid Ali Awan (@1abidaliawan) is a certified data scientist professional who loves building machine learning models. Currently, he is focusing on content creation and writing technical blogs on machine learning and data science technologies. Abid holds a Master’s degree in technology management and a bachelor’s degree in telecommunication engineering. His vision is to build an AI product using a graph neural network for students struggling with mental illness.